Showing posts with label Painted. Show all posts

July 11, 2017

White Painted Antique Farmhouse Chair: Before + After

Once again, I'm amazed at what a little paint can do. This little antique painted chair looks like it's been this way for many years.  And the stencil just gives it that finishing touch. It goes perfect with my farmhouse bathroom and that is where it will stay!

White Painted Antique Farmhouse Chair

November 24, 2014

I Painted Our Bathroom Floor....CHEVRON!

I painted our bathroom floor......CHEVRON. And I love it. It's so unique and a real conversation piece.  Not only was it under $100, but it was easy too!
Now, we could have went out and bought new tile and tiled the floor.  That would have been a really good choice.  Probably a better choice all around, but I wanted to do something different.  Something that might have a slight WOW factor. And something a bit less expensive.
Chevron Painted Floor
It turned out better than I expected, considering I had never painted a bathroom floor OR created a chevron pattern ...  in my life.
I did a lot of research online, looked at a ton of DIY painted floors, read about how it was done...and then did it my own way. haha.  Everything I was reading advised to use floor paint.  And nothing mentioned a protective clear coat.  I paint furniture and other things, and I know that a final clear protective coat is a MUST for high-use areas. 
The before picture....ah.  It's not the worst bathroom.  But keep in mind I'm working with the floors and walls that were in the house when we bought it.  We replaced the vanity, toilet, and tub but  I had wanted to keep the walls because I thought they had potential and the floor was ok to live with for awhile.  Fast forward a year and a half and I'm ready to get something done with the walls and floors.
So the floor had to be first. Here is what I did....
I roughed the floor up with a sanding block and wiped it down good.  Then I rolled on two coats of white primer and sealer.  Just your basic Kilz...nothing else.  Super easy.
I was already enjoying the transformation.  If I had liked it enough, it could have been left white. 

But I had my heart set on chevron.
I will admit, taping the chevron pattern was the worst part.  I had never tried this and was a bit nervous, but by the end I was declaring myself a chevron professional. 


I applied two coats of regular Behr paint.  NOT floor paint or anything special, just regular paint. 

After the two coats had dried, I took of the tape.  As you can see, some of the white paint pulled up with the tape.  This was the area I had been standing on while painting the strips.  I freaked at first.  But a small roller and more white primer paint fixed it right away.

Chevron Painted Floor

I applied two coats of polyurethane for floors.  This was my biggest mistake because it turns white into yellow. The can says it's CLEAR GLOSS...ha!!!
 I would advise against it unless you are painting your floor other colors and not white.  Although the poly is protecting it really well.  If I could do it all over again, I think I would use a clear lacquer instead.


Sharing At:

October 18, 2014

DIY Painted Coffee Table

Do you have a coffee table that has seen better days?  I did. A few months ago, I painted our old coffee table white and distressed it a bit --- but the end result wasn't all the greatest.  And it just didn't mesh well with the rest of our living room.


It wasn't the worst coffee table in the history of painted coffee tables....


But I wasn't inlove with it --- nope.

So I did what any DIY'er would do.  I fixed it.


I taped off a diamond pattern with painters tape.  And then I sanded all the diamond shapes. This whole project literally took me about 20 minutes.


It's not new, but it will work for awhile.  

February 1, 2014

Bathroom Light Fixtures in Metallic Glaze

After using metallic glaze for the first time on a pair of side tables  I sort of wanted to paint everything in my house metallic.  The wall lights in our bathroom are old and outdated.  But they have a neat look to them that we kind of enjoy.  We thought about replacing them, but we thought they might add a little character to the space.

And....they were the perfect little victim's for my metallic glaze craze....

Here is the after.


metallic glaze light
Light


And of course the dreadful before...

Not bad.  I think the metallic glaze helped jazz them up. You cannot tell they were ever gold.


January 18, 2014

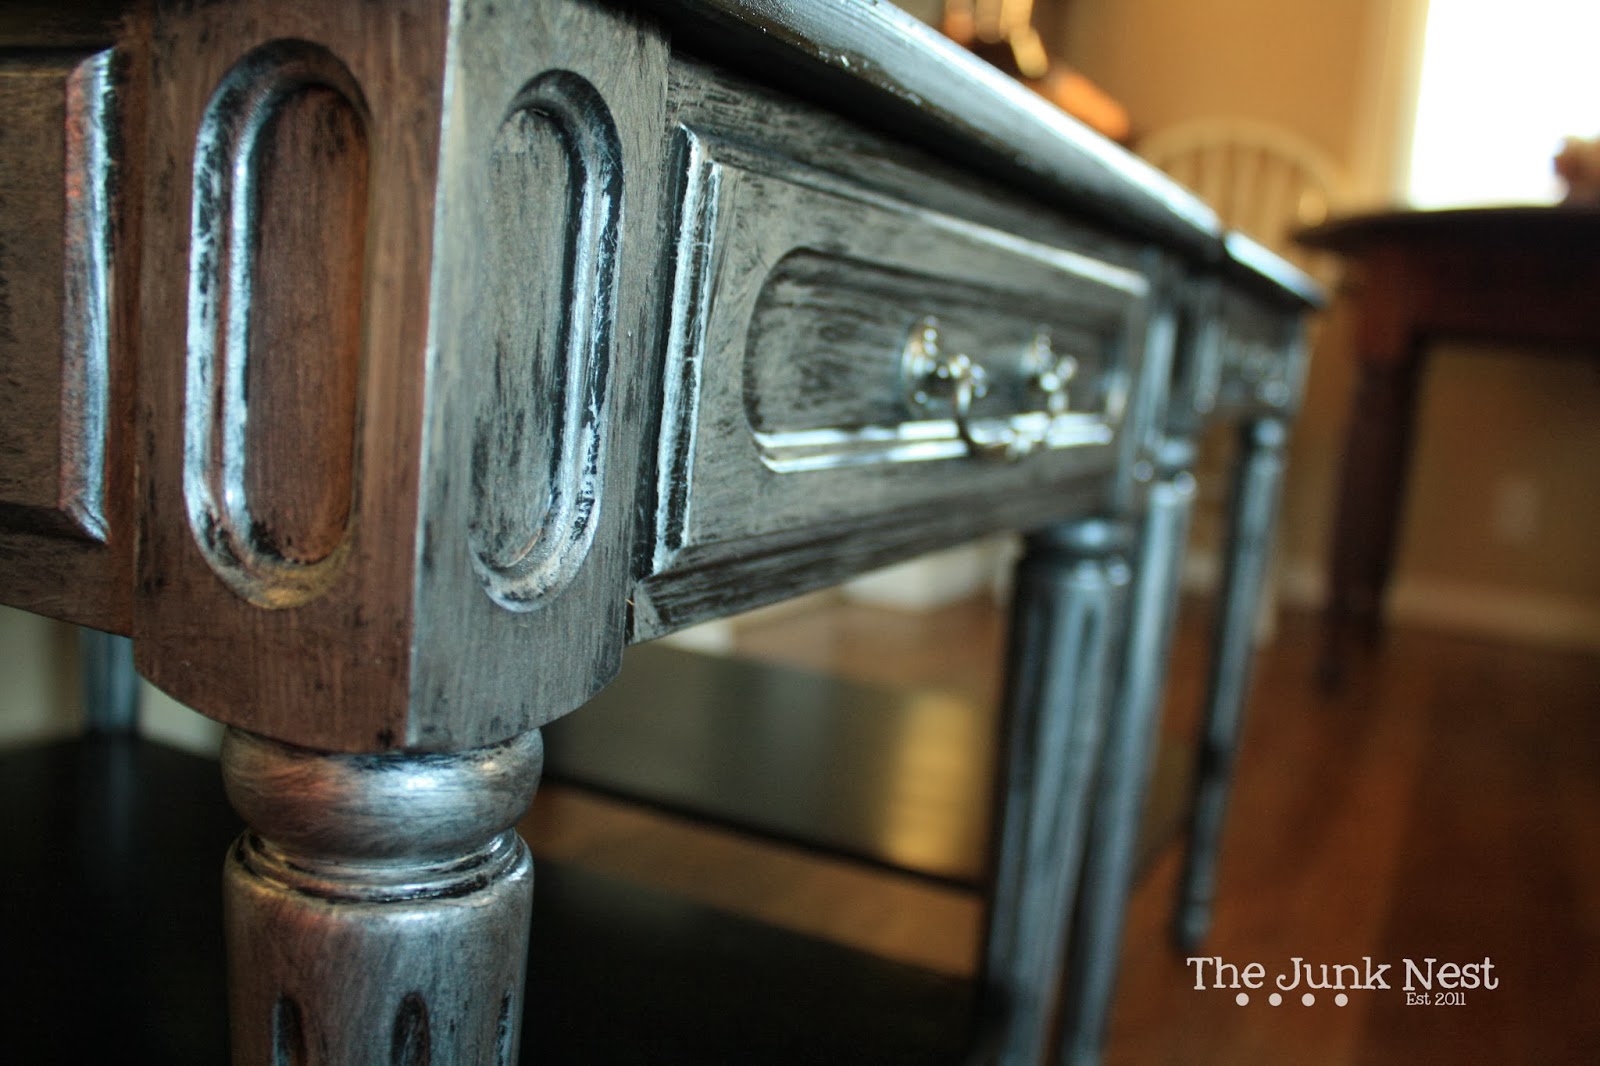
Painted Side Tables - Using Metallic Glaze

Hey ya'll!
Guess what I did for the first time? Painted furniture and used a metallic glaze. Yep...I did.
And being this was the first time I had used a glaze, I was extremely nervous.  More nervous then I would have been if these side tables had been my own.  But nope...someone was waiting for them to look amazing when I was done. oh boy...


I painted both of these side tables entirely black and then used a metallic glaze on the body and the legs.  
 
I was a bit skeptical at first, not really knowing how these would turn out, but this will definitely be something I use more frequently in the future. They turned out lovely.

November 5, 2013

DIY Chalkboard Book Shelf

This little book shelf was actually a mistake.  From the beginning, I had no clue what to do with it.  I almost threw it away. 


But a couple of coats of chalkboard paint on the top and ASCP on the rest, I knew it was the perfect little book shelf for my daughters bedroom.  

October 22, 2013

New Craft Room Storage Dresser

Well everyone, I finally finished a piece of furniture for my craft room.  Remember when I found these babies on craigslist a couple weeks ago ? The tall one was "choosen"....hahaha.

Craft Room Storage Dresser


I'm so happy with how this turned out. 

Craft Room Storage Dresser


Craft Room Storage Dresser


Craft Room Storage Dresser


I laid down to take a picture from a different angle and when I focused, I saw....
my little buddy Duncan.  Little guy follows me EVERYWHERE.

Craft Room Storage Dresser


So anyhow...this dresser replaced a plastic storage unit that I had been using for all my craft supplies since I started crafting.  It holds much more than the plastic unit did -- so yay for that!  Plus it makes the room look a bit more "put-together".  

I used an off brand white paint for the top and sides, chalkboard paint for the drawers, and then put a glaze over the top and sides.  I didn't use a protective finish on this.  I didn't need to with the type of use it's going to be getting.

Soon enough, I will do a craft room reveal for you guys.  Stay tuned....

August 23, 2013

DIY Wedding - Flower Peek


There's one thing to say about making your own flowers for your wedding....
It's a relaxing, sit-down, bond with your daughter type of time.  I really enjoy it.  And it's a good thing, because these flowers take a ton of time to make! 


I posted some flower ideas here when I was still undecided on the direction I wanted to go.  Can you tell what one won my heart? :))


All the colored flowers are being done by hand.  I found that watering down acrylic paint and painting the paper before making the flower works great.  And with the vast variety of acrylic paints out there, I was able to find the exact colors for our wedding! Score!

Linking to these parties...
It's Overflowing
Funky Junk Interiors
VMG206

August 17, 2013

Wardrobe Storage

This little wardrobe would be the perfect addition to a bathroom as storage or maybe even in the kitchen as a pantry.

Love the added wording.


Jessica


August 15, 2013

Messy Yellow Desk


Last week I posted a little peek at a few things I had been doing at my Think Yellow...  post.  One of them was this little yellow desk. 

It's not your usual paint job. My fiance thinks I may have ruined it lol. But everyone else has commented on how cute it is sitting in it's new spot in the craft room.


Messy Painted Yellow Desk


Yellow isn't usually my "go-to" color for painting (anything).  It was a toss up between the yellow and the teal I had from previous projects...I really just needed to get rid of the paint. Teal won to begin with...but when I opened it I found that I had not sealed it well enough and it was hard as a rock! 

So yellow it was. 

The original plan had been to paint it yellow and then use a brown glaze to antique it. But after a few brush strokes, that went out the window also.

Messy Painted Yellow Desk


The paint just ended up being more of a dry brushed look.  And I really love how it turned out. 

And it was fun to paint.

Messy Yellow Painted Desk


What do you think? Have you ever painted anything like this?

Linking to:
The Crafty Blog Stalker - The Shabby Creek Cottage - Miss Mustard Seed
Funky Junk Interiors - It's Overflowing - Crafty Scrappy Happy - Three Mango Seeds

Jessica

August 9, 2013

Perfect Dresser Redo

When I saw this dresser the first thing I thought was....I NEED to get a dresser just like this and do the same thing...IMMEDIATELY...lol. And it was one of those early morning perusing Pinterest on my phone while I wake up type deals. All logic out the window....I thought about the dresser all day. 

Thank you PB&J Stories....


I could really put one of these in each room of my house. Same knobs and pulls....everything. Pink does not go with my decor...but who cares! 

xoxoxo

Jessica

August 8, 2013

Think Yellow...

This week has been a pretty good week for getting things done.  It feels like each week just gets better and better now that I'm done with school and we are settling into the house.

But back to getting things done this week :)

I had some time to redo a little desk my future mother-in-law gave me. It used to be my fiances when he was a boy. Now my daughter gets to have it. Other than a bunch of scribbles he did all over it, the desk is in great condition. The pulls are so awesome, I kept them as they are.


While I was doing the desk, I used the same yellow paint and coated the inside of these jelly jars I had on hand (here is where the multitasking comes in -- along with some drinks too). I love how they turned out.  They might just find their way into our wedding decor :) Wouldn't they be perfect with some cute white flowers?


Speaking of wedding decor. I'm trying to juggle doing the invites AND making the flowers right now. When I first got engaged I felt so overwhelmed with the thought of having to plan a wedding. Now that I'm actually doing it, I'm finding it's actually fun :) I love sitting on the couch with my family at night, making my flowers while they watch their shows. It's so relaxing.


More on the flowers later. I have some other things I'm going to try with them. I figure, I have a year to get it right...lol.

A midst all of this crafting, I found time to trim some hedges....


And take long bike rides with my daughter. This is a picture of the train tracks below a gigantic bridge we were on. It was her first time on the big bridge (not in a car) and sort of a big deal.


What have you done this week?

Peace!

xoxoxo
Jessica

Linking to:

Funky Junk Interiors

August 5, 2013

I Bought A Paint Sprayer {A Review}

A few weeks ago I purchased a new paint sprayer. We had several interior doors that we needed to paint and I knew the sprayer would do the job well. Plus I've been wanting to try a sprayer out on my furniture. So it was a win win situation.


I figured a gallon of paint would do all 8 interior doors we had. Especially because it's a paint/primer in one. And an expensive $34 per gallon paint. I was really wrong....


Well, as you can see there was a LOT of over-spray. I'm not sure if I was doing it wrong or what, but this stuff was all over the place. And god forbid the wind shift my way. 


It ended up getting all over me. ALL over me. And all over my yard. Oh, and I managed to get some on the house too!


The painting part was much quicker though, and I really like the way it covers without streak marks of a brush. BUT there are a couple of disadvantages in using a paint sprayer. 

For starters, that gallon of paint/primer only got me 4 doors into the project before I had to go buy another gallon. 

Second, the weather has to be just right to go outside to use the sprayer. I could never use it inside because of the over-spray. I've found that his has put several of my projects on hold, when I could have just painted inside by hand.


The doors did turn out really nice and we are happy with them. But I think the use of the sprayer is going to be limited to really large projects. 


 So, I'm back to painting with a brush lol. I would be interested to hear what others have to say about using a paint sprayer!

xoxoxo
Jessica

August 1, 2013

What's Happening At TJN....

There are so many projects going on around here lately, and I've been sort of MIA. I thought I would give you a peek at what I'm currently working on -- in my free time.

I've been trying hard to finish this ONE dresser (that's been sitting around for a month)...and every time I plan on getting it done, something comes up. Well, tonight I was "for sure" going to finish it. And then guess what happened? As I'm putting on the last of the knobs, I realize I'm two short! Wow what a tard!

But I think it's going to be fantastic. AND, it's already sold.


Of course I found this and another tall matching dresser on craigslist (for a steal). Some people just need to get stuff out of their garage! The tall dresser that came with it is in my craft room. Would you believe that one isn't finished either??


I've also been working on these chicken wire frames. I've got a few people that want them. I've got the one hanging by my back door at my house and everyone that comes over wants one! If I keep giving them away...I'll never make my money back!


Tonight, I don't know what my problem was. But I cut three different lengths out of this wire to fit into that frame and EVERY SINGLE ONE was too small.


Maybe today just wasn't meant for crafts.
But hopefully next week that dresser will be done and I can start on the one in my craft room. 

xoxoxoxo
Jessica