May 31, 2012

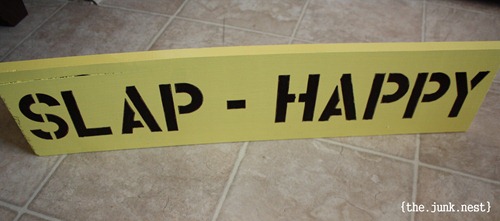
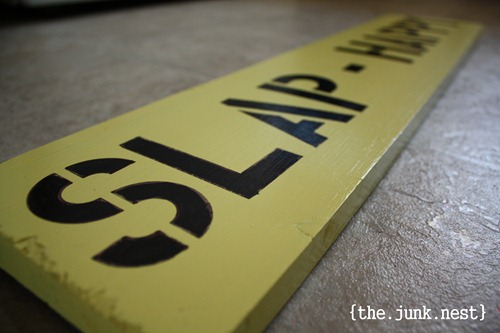
Slap-Happy DIY Wooden Sign


Do you know what it’s like to be slap-happy?

No?

Me neither! Bahahahahah ;)

DIY Painted Wooden Sign


But I’m pretty sure everyone has an idea of what it is.  And after you see just how cheap this project is…I think you’ll be slap-happy too!


What I used:
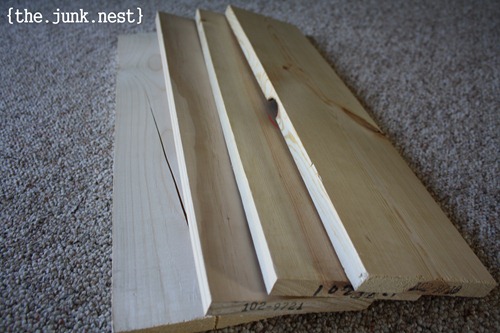
Wood (Menards - $.69 a piece!)
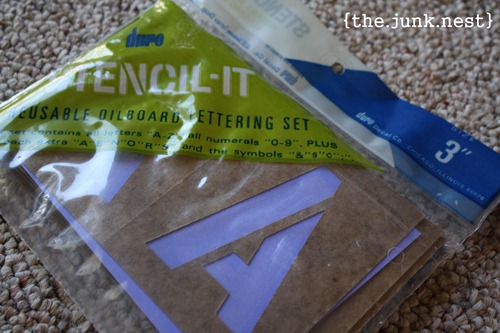
Stencils (Menards - $3.99 a pack…reusable)
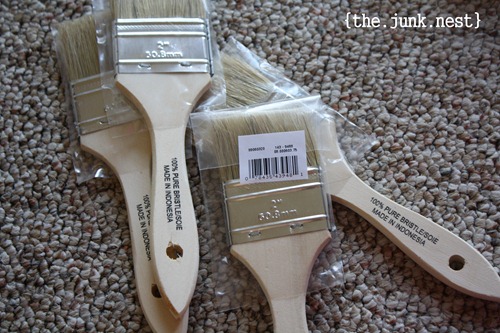
Paint Brush (Menards – $.99 a piece)
Paint (I already had)
Sharpie Marker (I already had)


IMG_1370-001


I about fell over when I stumbled on these $.69 wood planks.  Sixty-Nine Cents??!!


IMG_1373-001


IMG_1375-001


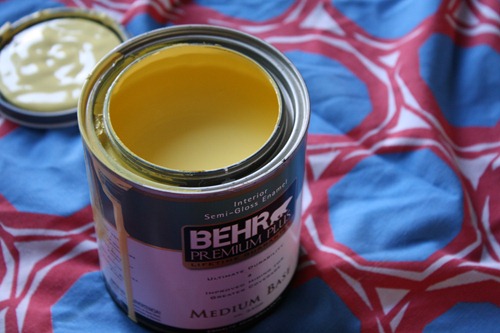
I purchased this yellow Behr paint when I first started on this blogging journey…months ago. I used it on my laminate shelving project (you can read about it here).


IMG_1378


IMG_1428-001


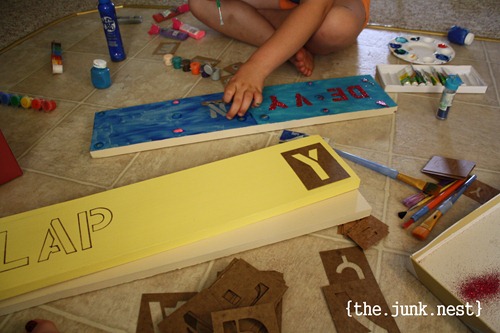
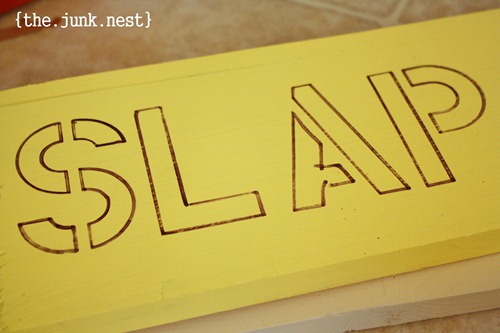
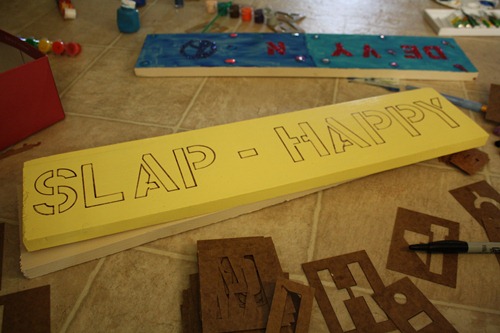
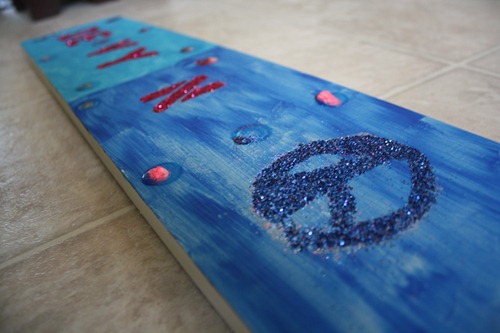
Using my stencils and a sharpie marker, I made the outline. {Notice my daughters cute sign she designed herself}.

IMG_1430


IMG_1431


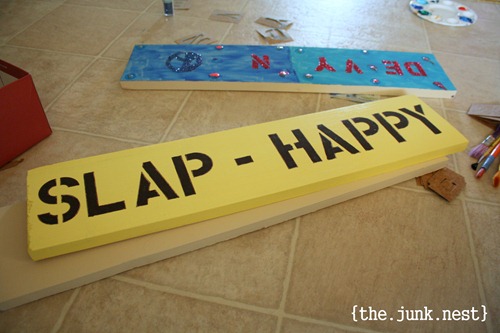
Once I had the outline in place, I colored it in with a larger sharpie marker.


IMG_1432-001 

It actually looks pretty cool. Nothing else needed…but I’ve been thinking about sanding it to see how it comes out. What do you think?


IMG_1437-001


I was hesitant to post this as I made the sign just for laughs. But it’s been turning all kinds of heads at our house. So I thought….what the heck…here it is!


IMG_1445-001


Here’s the end product of my daughter’s hard work. Cute right?? She’s pretty talented :) It’s going in her bedroom.


IMG_1452


Oh and guess who joined our family yesterday?? Mr. Doc himself. He's a german wirehair pointer and SUCH a sweet little guy. I’m already super attached :) He makes us all a little slap-happy ;)


German Wirehair Pointer Puppy


And as I come to a close on this post,
I’ll leave you with one question….

Are you slap-happy?

May 21, 2012

Wall Decor Using Paper Towel Rolls


Today I’m going to share with you how I made wall decor using paper towel rolls. These have been floating around the blogosphere and Pinterest for awhile. The only difference is that they are normally made with used toilet paper rolls. I know, I know…HUGE difference right? lol.


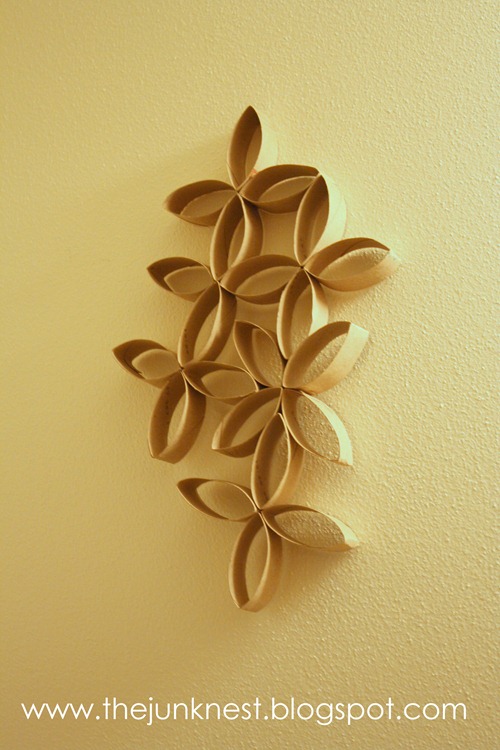
It’s nothing spectacular, but it was a free project and I ended up with cool wall art.
And yes, the end result is really cool wall decor. Somehow the paper towel roll thing just makes a wall pop. Wanna see how? Keep reading!


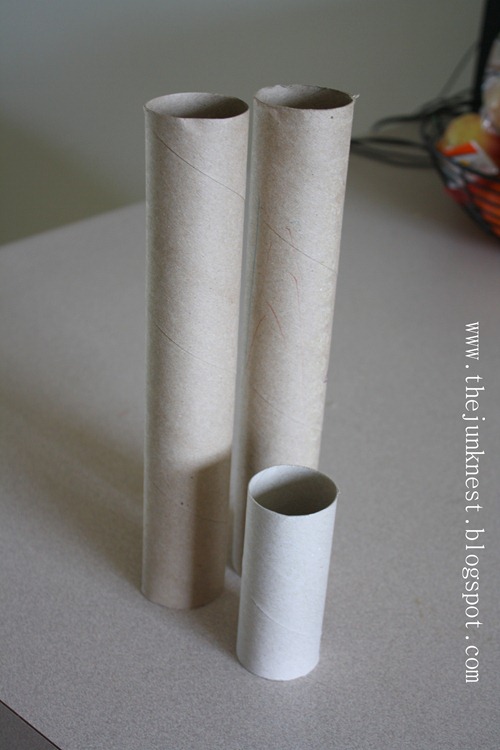
I did not use the little toilet paper roll pictured…just the two paper towel rolls.

Items needed:

- Two paper towel rolls (minimum)
-Scissors
-Hot glue gun


4


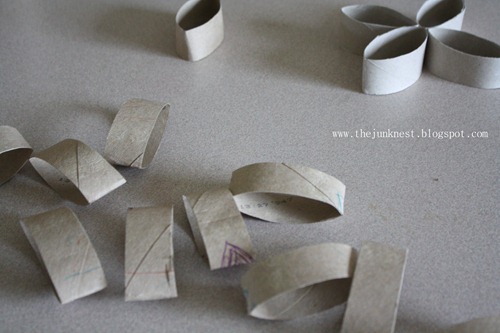
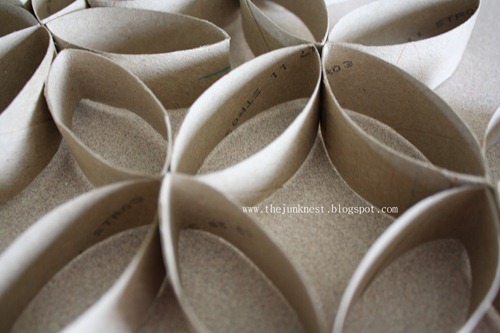
I flattened the roll down and cut out one inch strips with scissors.


6


I laid out my pattern.


8


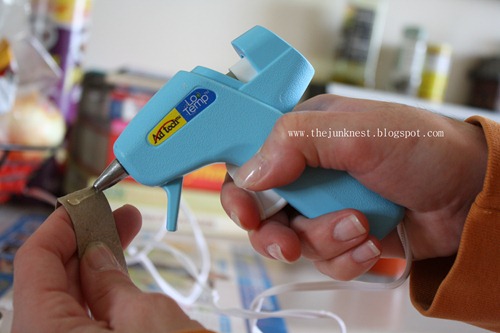
Then used a hot glue gun to glue the edges together.


9


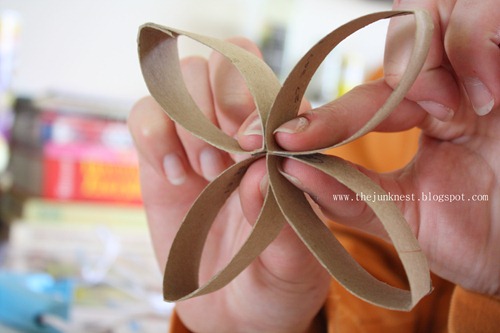
You end up with four put together like this. Keep doing bunches of four until you run out.


10


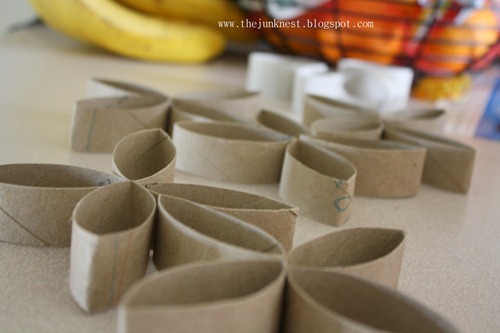
Then you glue them all together in any way that you like. This is the fun part!


11


14


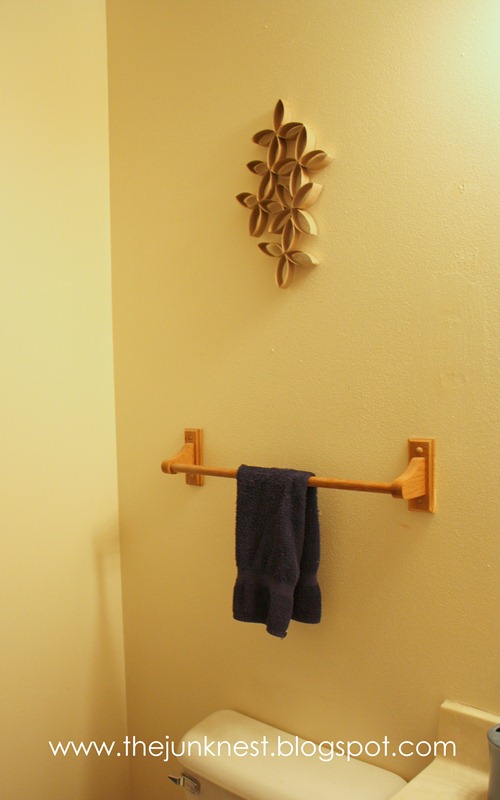
I hung the final product in my bathroom (note: there is no natural light source).


1


2


For added punch, you could spray paint them :) I like mine how they are.

May 16, 2012

Drop Cloth Towels

 How’s the week treating you so far? My week has been pretty hectic. Mainly at work. We are going through a system change on top of an office renovation. And it’s driving me to drink ;)


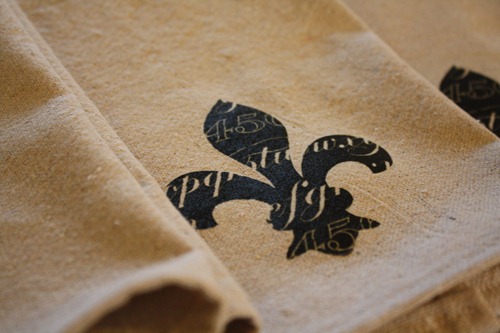
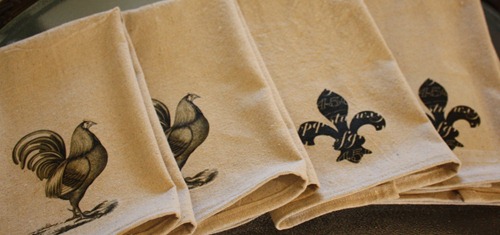
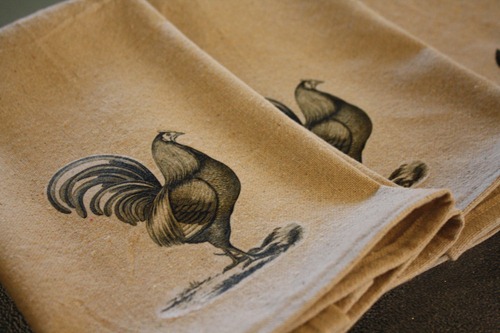
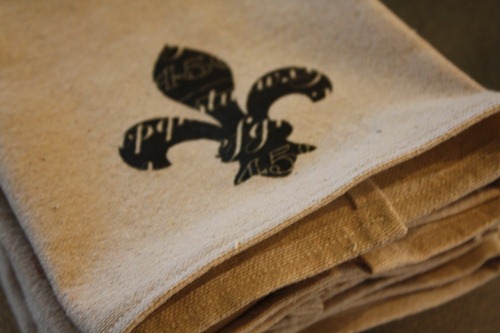
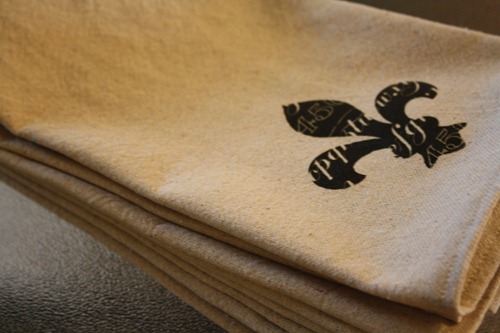
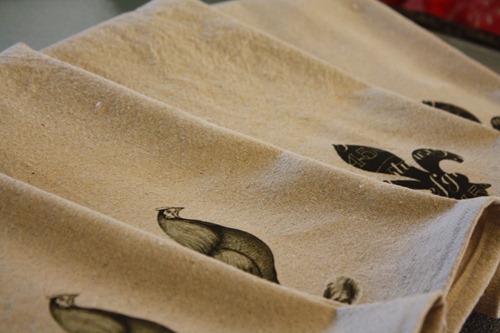
Anyhow…over the weekend I spent some quality time with my sewing machine. Together we made some pretty cute drop cloth towels.

I made 7 towels and still have more than half of one drop cloth (4ft x 15ft) remaining. The drop cloth itself cost $15 + tax.


IMG_1394


I used transfer paper made for fabric to get my designs. I purchased the transfer paper at my Local Staples for $10.99 + tax. Later on I found that same pack at Wal-Mart for under $9. Go figure.


1


This was a fun project that I enjoyed watching evolve.

  IMG_1393


A simple double-sided stitch was used all around the 24” x 18” pieces to create a polished look. The double-sided stitch helps prevent the edges from fraying in the future.
IMG_1401 


I found the graphics over at *The Graphics Fairy LLC*. If you are ever in the market for some awesome graphics, head over there and you'll spend quite a while browsing through all of them!


IMG_1402


IMG_1397


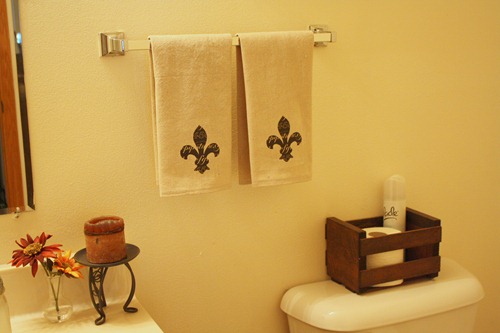
I’m happy with how they turned out. They are a nice addition to my bathroom.


   IMG_1404-001


I kept three and gave four as Mother’s Day gifts. There is nothing better than a homemade gift right??

Linking to:
Crafty Scrappy Happy - Delightful Order - French Country Cottage 
The Shabby Creek Cottage - The Crafty Blog Stalker - Saved By Love Creations
Funky Junk Interiors - Be Different Act Normal - Fingerprints On The Fridge - Whipperberry
Elizabeth & Co

May 8, 2012

Barbie Over-the-Door Organizer


Lately I've been mad into organizing my daughter's bedroom. It's a never ending process it seems.  Recently I was able to get all of her stuffed animals under control with a make-shift stuffed animal organizer. You can read about that out here. 


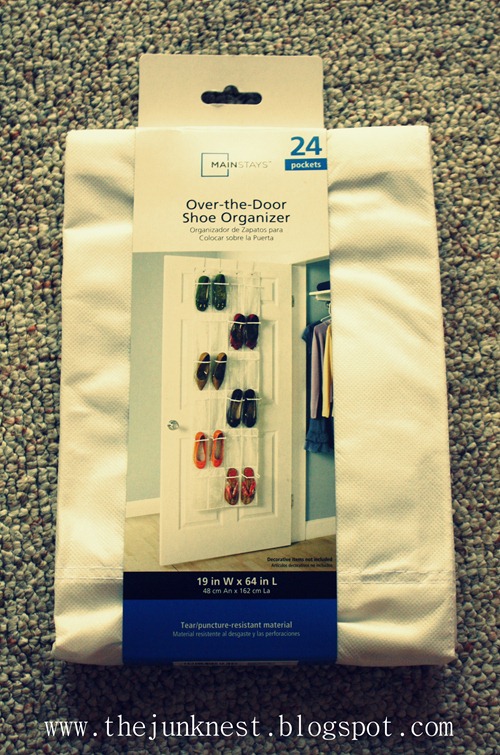
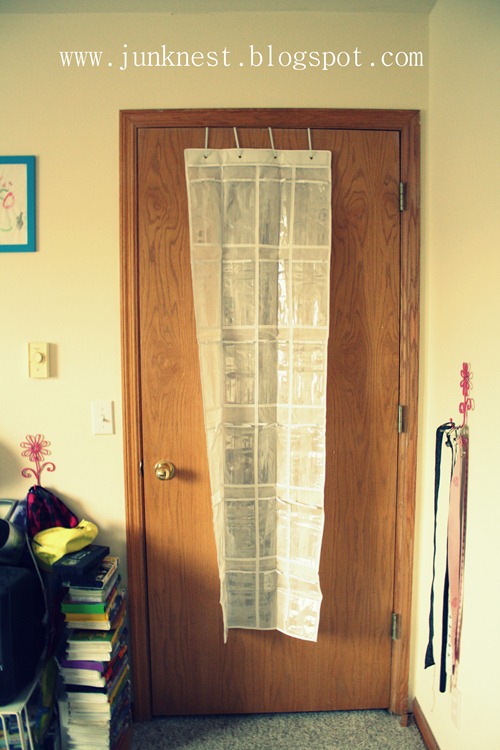
Now that the stuffed animals are out of the way, something had to be done with the barbie collection.  I purchased an over-the-door shoe organizer for $10.00 at Wal-Mart.


 b


Hung it up behind her door....


c


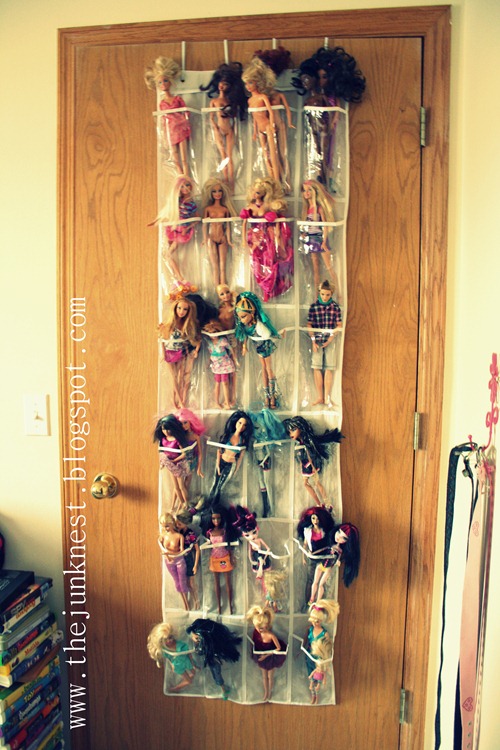
And we were ready to rock. The individual holders could hold 2+ barbies. Meaning...there is room for more...just don't tell my daughter ;)


 d


Now that they are all in plain sight, it's easier to see she has a barbie addiction. lol.  But now it's an organized barbie addiction :)